![Idencia-Logos-White-2023.svg]](https://knowledge.idencia.com/hubfs/Idencia-Logos-White-2023.svg)
Applicable Subscription Levels:
QC MANAGER | STARTER | PRO | PRO+ | ENTERPRISE
Overview
This article will outline how a user is able to view and edit PDF documents associated with products made while using the Idencia Mobile Application. Please refer to the PDF and File Repository Article to set up your Document Repository before proceeding with the steps below.
Topics in this article include:
Glossary of Icons
View/Edit Document when creating a New Item
View/Edit Document when working on an Existing Item
Syncing your Document(s) to the Management Portal
Glossary of Icons
This section is to show you what options there are to choose from once you have pulled up your PDF to Edit
Top of the Screen
This option allows you to choose how to view a multiple page PDF


The magnifying glass will allow you to search within your PDF

The 3 Dots bring up a settings option list

Bottom of Screen
This Icon will bring you to all of the editing options for the PDF
This option and corresponding icons allow you to add Lines to Text Values
This option and corresponding icons allow you to add Shapes
This option and corresponding icons allow you to use a Pen and write
This option and corresponding icons allow you to add a Text Box
This option allows you to add a Signature
This option and corresponding icons allow you to add Symbols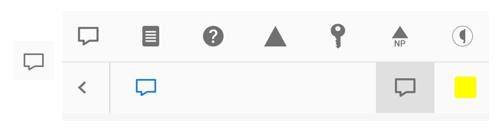
This option and corresponding action allows you to Erase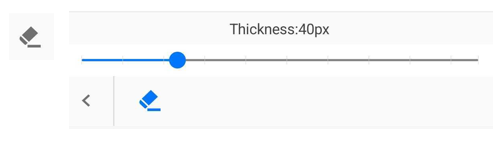
For every option you select to work with, you will see a check mark located towards the top of the screen - this saves your work. 
Make sure to press this after EACH annotation otherwise your work will not save
View/Edit Document when creating a New Item
- On the Idencia Home Screen create a new item by using the Scan Tag, Autogenerate or Form ID

- For this article, we will use the Autogenerate option

- For this article, we will use the Autogenerate option
- Choose an Item Type or go to the Jobs tab and choose a Custom Item Type

- For this article, we will choose a Custom Item Type

- For this article, we will choose a Custom Item Type
- Confirm the Item you are creating (If you have this option allowed)

- Now that you are in your Default Process, you can access the associated PDF
- Go to the 3 Dots

- Select Edit Document

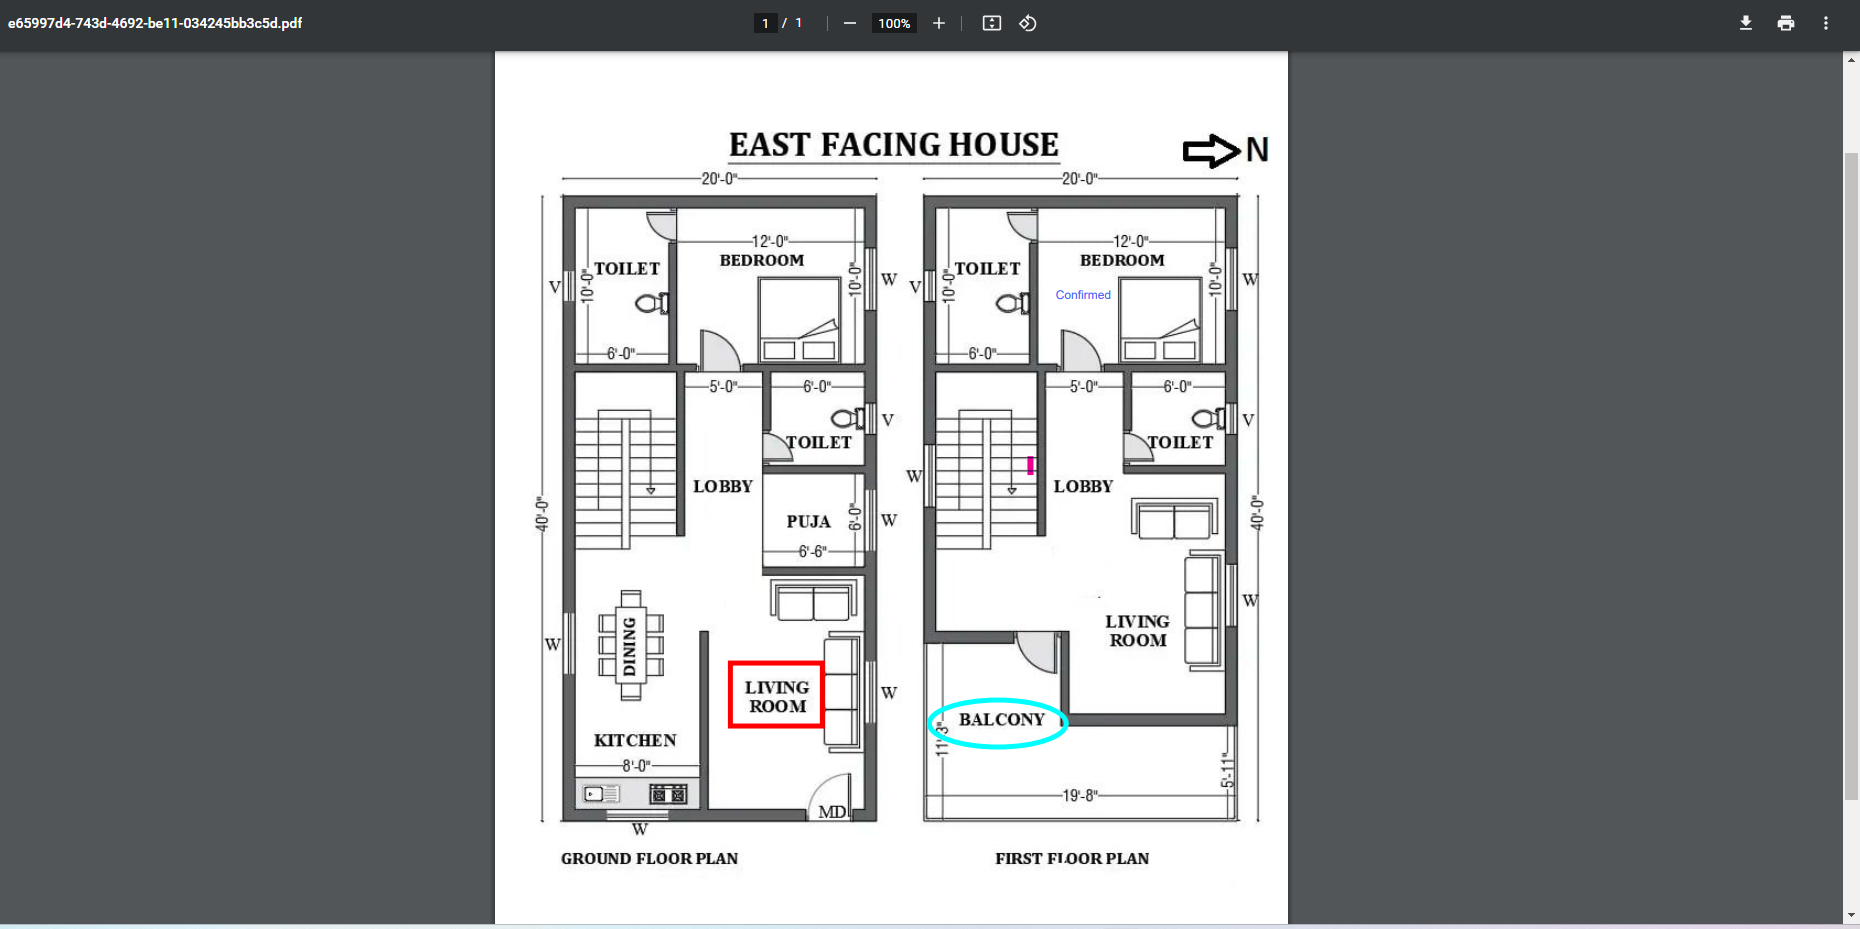
- Your PDF will load

- Make any annotations you wish (Refer to Glossary if needed)
Please remember to click the after every change you make to ensure that your work saves
- When you are done, simply press the Back Arrow

- Go to the 3 Dots
- Enter in all remaining information to finish running your process and click Done

- You will be brought to the Additional Processes screen and can click Exit

- You will be brought back to the Home Screen and will receive a notification that you have an Unsynced Document.
To read about syncing your documents to the Management Portal you can go here
View/Edit Document when working on an Existing Item
<<Under Construction>>
Syncing your Documents to the Management Portal
- Click the 3 Dot menu at the top

You can sync your document before syncing the rest of your app, however it is recommended to sync your app first and document(s) second - Select the Sync Documents option

- You can now go to the item on the Management Portal and view the annotated PDF on your item