![Idencia-Logos-White-2023.svg]](https://knowledge.idencia.com/hubfs/Idencia-Logos-White-2023.svg)
Applicable Subscription Levels:
QC MANAGER | STARTER | PRO | PRO+ | ENTERPRISE
NOTE: The Idencia Shipping module is a premium add-on available at all subscription levels. If the Shipments tab in your Management Portal is locked, contact Idencia support to subscribe.
If you do not have the Shipping module, and want to learn about basic shipping features, see the What is the difference between Job shipments and running a shipping process? article.
Overview
Scheduling and tracking shipments is a crucial part of any product tracking system. Idencia combines the ease of completing electronic shipping processes on a handheld device with RFID and GPS technologies to provide an integrated and flexible solution.
Topics in this article include:
Schedule Shipments using the Management Portal
View & Edit Shipments using the Management Portal
Scheduling Shipments in the Management Portal
There are two places from which you can create and edit shipments; the Shipments screen and the Jobs screen. Both options are described below.
Create a Shipment from the Shipments Screen
- On the left-hand navigation menu, click Shipments
- In the upper right corner, click New Shipment
- Fill in the details about your Shipment
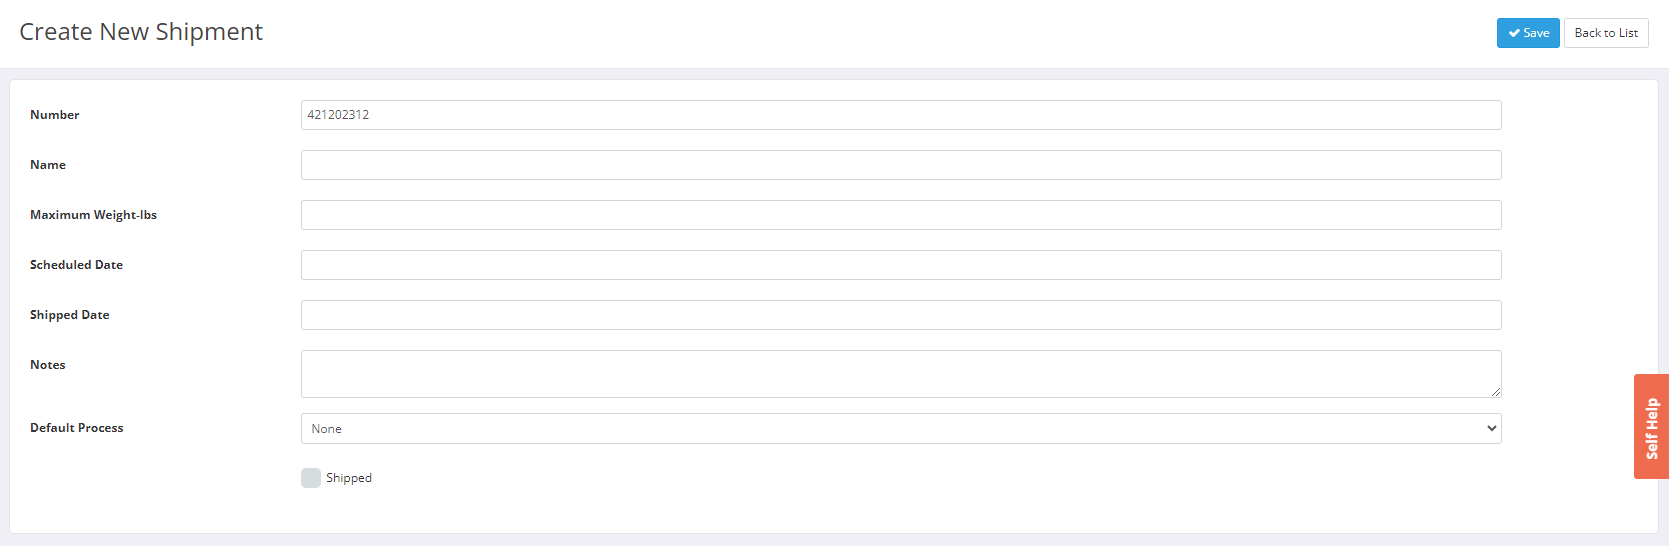
- Shipment Number.
The next available shipment number will be populated by default, but can be overridden. - Give your shipment a Name.
- Enter the Maximum Weight for the shipment.
This information will be used when creating a load in the mobile application. - Enter a Scheduled Date for the shipment.
This can be updated later, if needed. - Enter optional Notes for the shipment.
- Select an optional Default Process
The default process will be presented to the mobile app user upon tapping the Ship Now button. This process can be used to capture information like truck number, carrier, photos, and driver's signature. See the How do I create, update, and delete processes? knowledge article for more information. - Click Save

The scheduled shipment will be created and the Shipment Details screen will be displayed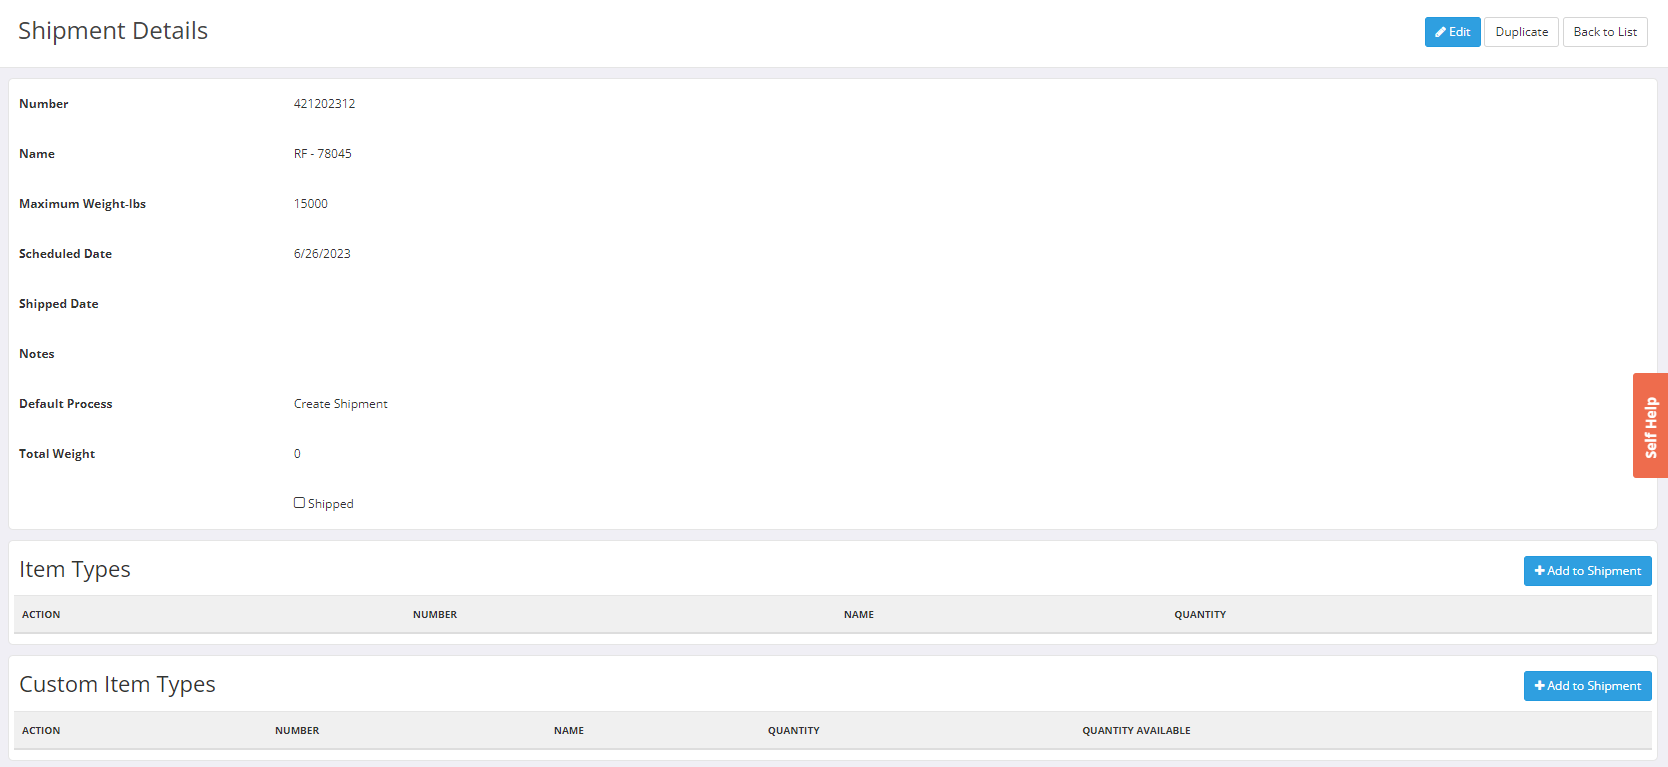
Manage Shipment Details
Now that the shipment has been created, you'll need to specify which Item Types will be included in the shipment and how many items of each type.
- To add stock Item Types (Item Types that are not Job Specific) to your shipment, click Add to Shipment in the Item Types section.

To add job specific Item Types (Custom Item Types) to your shipment, click Add to Shipment in the Custom Item Types section.
- For this section, we will add Custom Item Types from a Job

- Select a Job from the drop down list
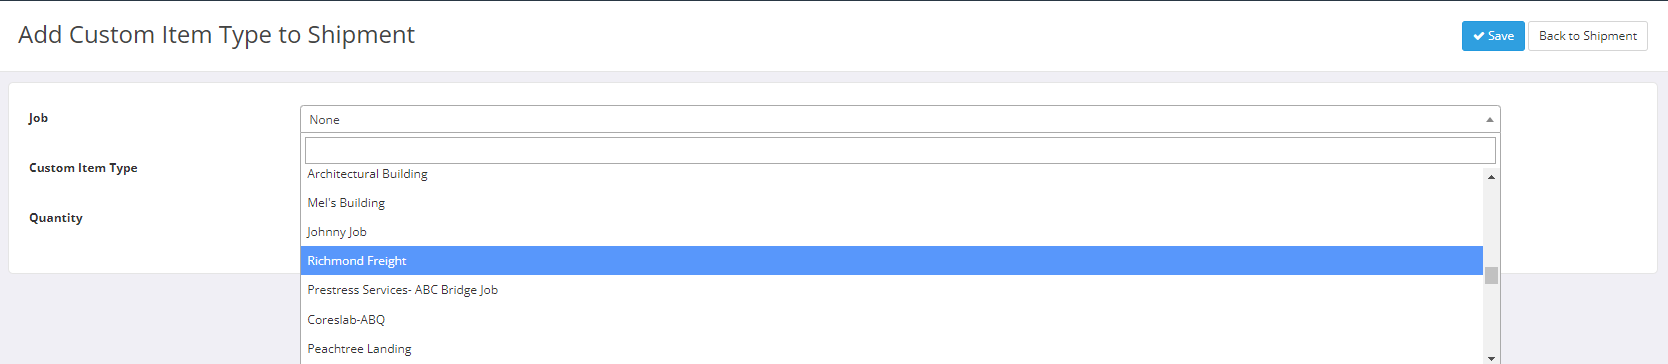
- Select an Item Type from the drop down list.

- Enter a Quantity greater than zero (0).
- Click Save
If the weight of each item type is being tracked in Idencia, the Total Weight of all item types included in the shipment will be displayed. This value will be updated as the contents of the shipment are updated. In the example below, the Total Weight exceeds the Maximum Weight specified for the load. Total Weight is provided for informational purposes only. Idencia will not prevent you from exceeding the Maximum Weight.
See the How do I create, edit, and delete Custom Properties knowledge article to learn how to designate a custom property to be used when calculating Total Weight.
- Repeat steps 1 - 4 until the shipment is complete.

NOTE: See the How do I complete shipments using the Mobile App? knowledge article for a step by step guide to loading and shipping shipments using the Mobile Application.
Create a Shipment from the Job Details Screen
- On the left-hand navigation menu, click Jobs
- Scroll or use the Search Bar to find the Job for which you want to create a shipment
- Click the Job Number hyperlink
The Job Details screen is displayed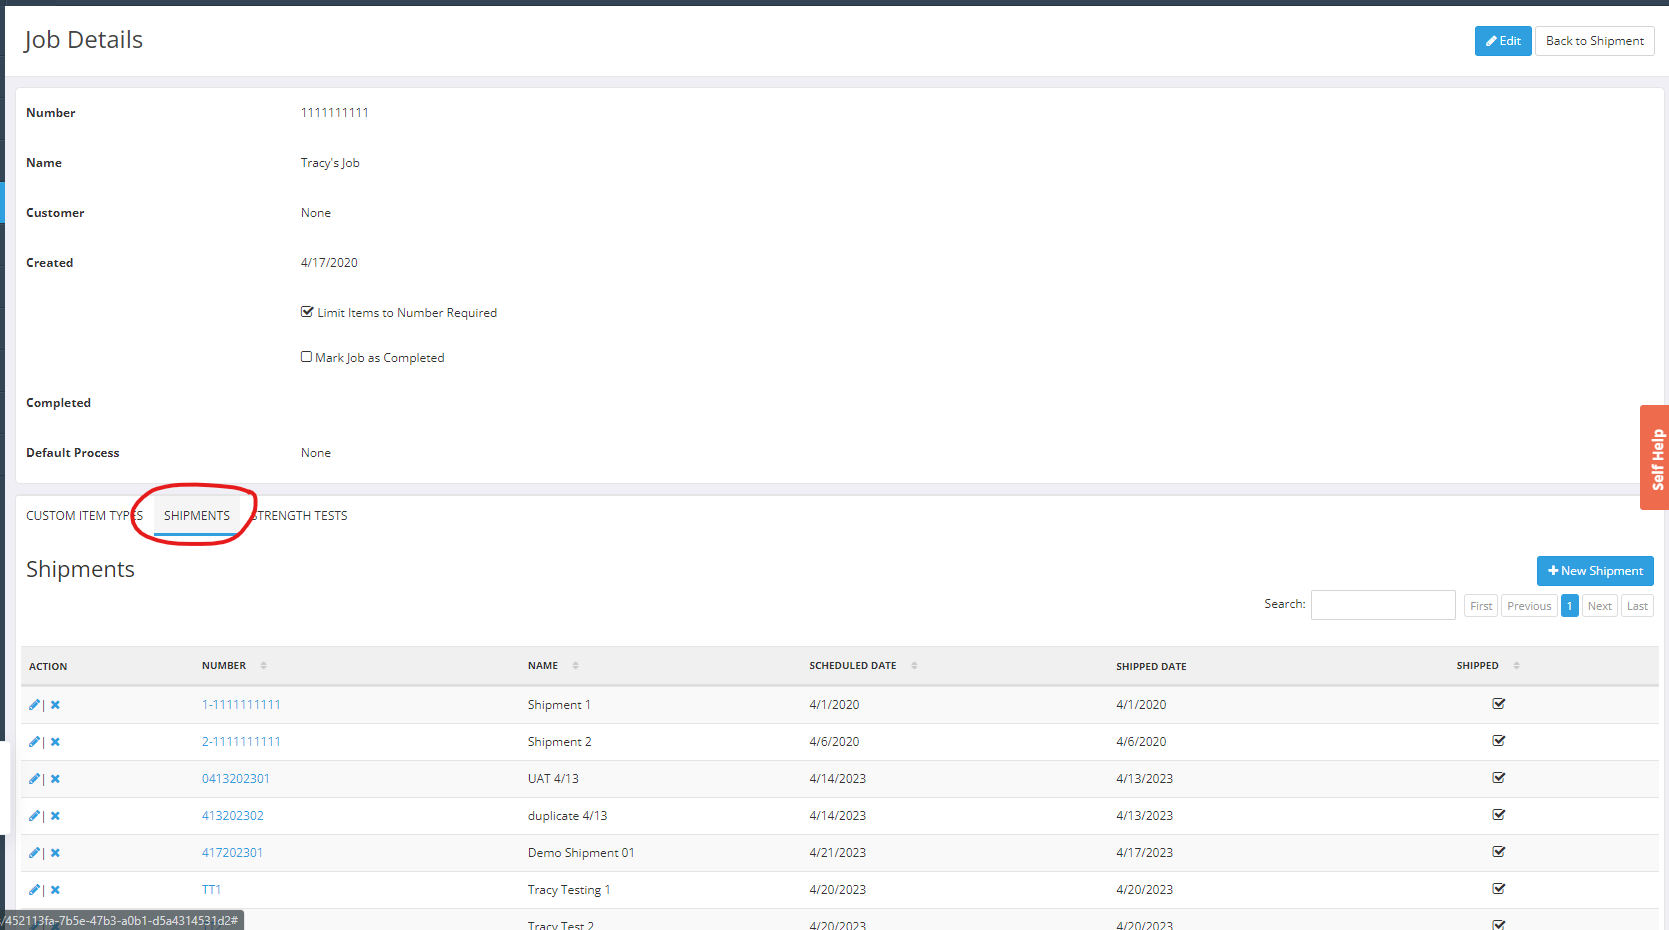
- Click the Shipments tab
Existing shipments for this job will be displayed - To create a new shipment, click New Shipment
The Shipments screen is displayed - Use the instructions above (Create a Shipment from the Shipments Screen) to create the shipment
Viewing & Editing Shipments Using the Management Portal
Shipments that include Custom Item Types from Jobs, can be viewed from both the Shipments screen and the Jobs screen, and navigation between the screens is available. Shipments that do not include custom Item Types can only be found in the Shipments screen.
Viewing & Editing Shipments using the Shipments Screen
- On the left-hand navigation menu, click Shipments
The Shipments list will display. - Scroll to find the shipment you'd like to view, or enter a shipment number in the Search Bar
- Click a Shipment Number
The shipment details page will open
- To add additional generic Item Types to the shipment, click Add to Shipment on the Item Types bar
- You then choose from the Drop Down option an Item Type Number and add the Quantity

- You then choose from the Drop Down option an Item Type Number and add the Quantity
- To add additional Job specific Custom Item Types to the shipment, click Add to Shipment on the Custom Item Types bar
- You then choose from the Drop Down option a Job, an Item Type Number and Quantity

- You then choose from the Drop Down option a Job, an Item Type Number and Quantity
- To edit the quantity of an Item Type or Custom Item Type, click the Edit icon (
 ) next to the Item Type or Custom Item Type number
 - To delete an Item Type or Custom Item Type from a shipment, click the Delete icon (
 ) next to the Item Type or Custom Item Type number
 - To update Shipment Details (number, name, maximum weight, default process, etc.), or manually mark the shipment as Shipped, click the Edit button in the top right corner
The Edit Shipment screen displays- Edit the appropriate fields
- Click Save
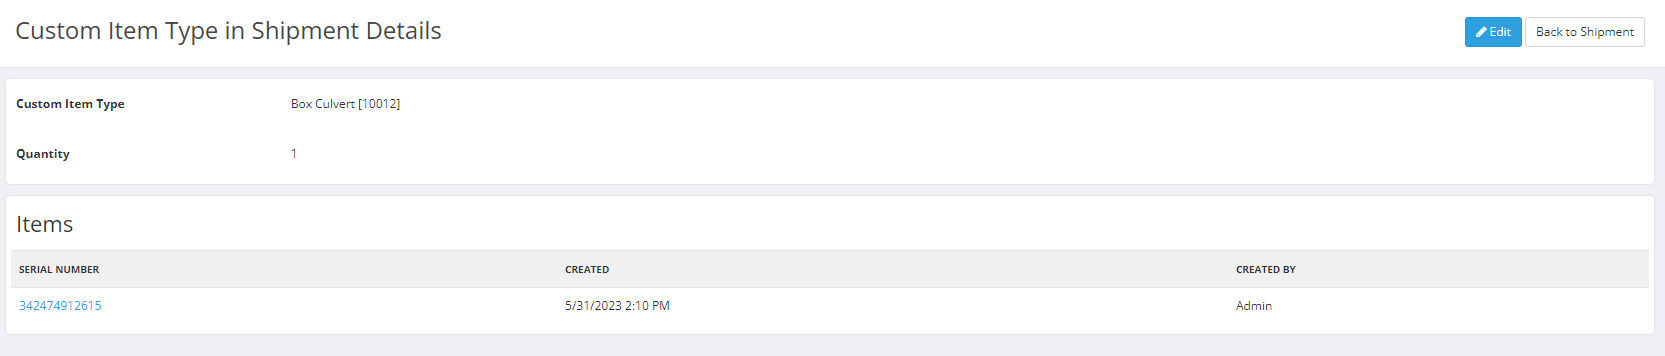
- To view item(s) that have been associated with the shipment click on the Item Type Number or Custom Item Type Number
Navigating between the Job Details screen and the Shipment Details screen
- On the left-hand navigation menu, click Shipments
The Shipments list will display. - Scroll to find the shipment you'd like to view, or enter a shipment number in the Search Bar
- Click a Shipment Number
The shipment details page will open
If the shipment includes Custom Item Types from a Job, the Job name and number will appear as a clickable link at the top of the screen.
- Click the Job Number link to navigate to the associated Job
The Job Details screen will display - Click the Shipments tab
The shipment from which you came, as well as any other shipments for that Job, will appear in the Shipments list. - Click a Shipment Number link to return to the Shipment Details page.
Video Tutorial
Related Articles
How do I complete shipments using the Mobile Application